


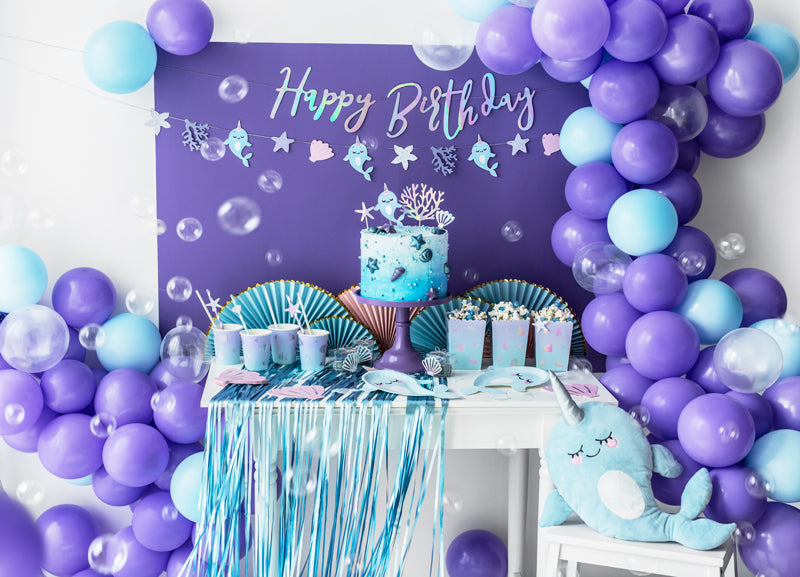
Balloon garlands are the ultimate party statement. Whether you're hosting a birthday bash, baby shower, or magical themed celebration, a balloon garland brings the wow factor - and guess what? You don’t need to be a pro to make one!
Here’s your simple, step-by-step guide to creating a beautiful balloon garland at home.
🎉 What You'll Need:
Balloons in various sizes (mix 5", 11"/12", and 18" for depth)
Balloon pump (electric = a total time-saver!)
Glue dots or low-temperature glue gun for adding decorations
Balloon ribbon (if not using balloon necks to create garland)
Command hooks and string (for hanging)
Optional: greenery, ribbons, mini foil balloons, or florals for added flair
Step 1: Choose Your Colour Scheme
Start by picking 3–4 complementary colours that match your party theme. Pro tip: Use one or two accent colours to make the garland pop!
💡 Example: For a Fairytale Magic party, mix soft pinks, lilac, and a splash of iridescent white.
Step 2: Inflate Your Balloons
You want to blow one colour up at a time as we want to create clusters of the same colour.
Blow up two 11/12" balloons at a time using the eletric pump and tie them together (this will save your fingers from tieing each balloon individually!) This is called a duplet.
Once you have created 3 sets of duplets you can now twist the balloons together to create your cluster.
To create an organic look replace one 11/12" balloon with an 18" balloon in your duplet.
🎈 Don’t overinflate! Underfilled balloons are easier to shape and attach. 11" balloons should only be infalted to around 9".
Step 3: Create your garland
To start creating your garland you will either need balloon ribbon, or you can use the neck of your balloons (recommended)
Grab one cluster, find a balloon neck, with a second cluster use the balloon necks tie these two clusters together. If you are using ribbon, tie one end of the ribbon to a cluster and then slot the additional clusters on the ribbon wrapping the ribbon around the balloons, push the cluster down so it is close and tight with the first cluster.
💡Tip! Block your cluster colours together for a more streamlined professional look i.e Pink, Pink, lilac, white, white, Pink, Lilac, Lilac.
Step 4: Fill In the Gaps
Now it's time for the 5 inch balloons!
Use the same process of making duplets, use two duplets and twist them together to make a quad. You can then use these quads to fill in any gaps, or areas you think need a little more dimenson.
Again use the balloon necks to tie this quads into place.
Step 5: Hang Your Garland
Use removable hooks, string, or clear fishing line to secure your garland on a wall, arch, or table edge. Adjust the shape as you hang — swoop it, angle it.
Once it is in place this is where you step back, take a look and see where you may need to add more balloons.
Step 6: Add the Finishing Touches
Add florals, greenery, foil balloons, ribbons, or anything that matches your theme. Just tuck or glue dot them in place.
✨ Optional: Add a name banner, themed topper, or party sign above or below for extra magic.
📸 Don’t Forget to Snap a Pic!
Your balloon garland is now party-perfect! Make sure to tag us @theparty.lane - we LOVE seeing your gorgeous party setups and creative ideas!
0 comments